How to put sandpaper on a hand sander?
How to put sandpaper on a hand sander?
Attaching sandpaper to a hand sander correctly is foundational for achieving smooth, consistent results and prolonging both the sandpaper’s life and the sander’s performance. A poorly secured sheet can slip, cause uneven sanding, or even tear mid-project—frustrating setbacks that are easily avoidable.
1. Gather Your Supplies
Before starting, assemble what you need to avoid interruptions:
– A hand sander (clamp-style or hook-and-loop)
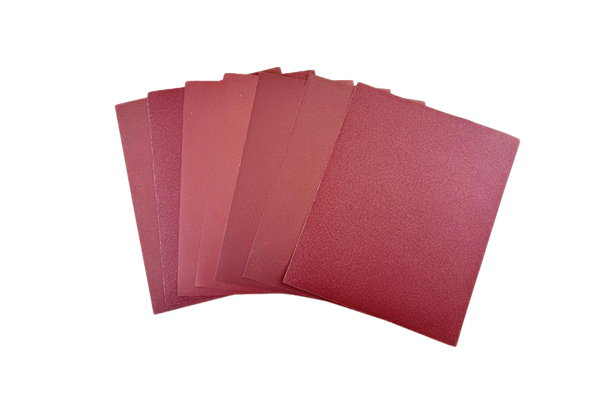
– Sandpaper sheets or discs matching your sander’s size (most hand sanders use 9×11-inch sheets; hook-and-loop models may require pre-cut discs)
– Sandpaper grit appropriate for your project (coarse 80–120 for material removal, medium 150–240 for smoothing, fine 320+ for finishing)
– A damp cloth (to wipe dust from the sander pad)
– Optional: Scissors (if trimming full sheets to fit smaller sanders)
Always check that the sandpaper is compatible with your sander—using the wrong size or type (e.g., non-hook-and-loop paper on a hook-and-loop sander) will lead to instability.
2. Prepare the Sander
Start by cleaning the sander pad to ensure a secure bond or grip. Dust, debris, or old adhesive residue can prevent sandpaper from attaching properly. Wipe the pad with a damp cloth and let it dry completely.
Next, disengage the sander’s securing mechanism:
– Clamp-style sanders: These have metal clips or levers on the sides or ends of the pad. Pull the clips outward or flip the levers to release the tension—this creates space to slide the sandpaper under. Lay the sander flat on a workbench to keep it stable during alignment.
– Hook-and-loop sanders: These have a fuzzy, hook-covered pad (similar to Velcro). No clamps are needed—simply ensure the pad is clean and free of old sandpaper remnants. If the pad is worn (hooks are flattened), replace it to maintain a strong hold.
3. Cut and Align the Sandpaper (If Needed)
For clamp-style sanders using full 9×11-inch sheets, you may need to trim the paper if your sander’s pad is smaller. Lay the pad on the sandpaper and trace its outline, then cut along the lines with scissors. For pre-cut discs (hook-and-loop), skip this step—they’re designed to fit perfectly.
Align the sandpaper with the pad: For clamp-style, make sure the paper covers the entire pad evenly, with equal overhang on all sides (this prevents uneven wear). For hook-and-loop, line up the edges of the disc with the pad—misalignment can cause the paper to peel off.
4. Secure the Sandpaper
The method here depends on your sander type:
– Clamp-style sanders: Once aligned, tuck one end of the sandpaper under the clamp closest to you. Pull the paper taut (but not so tight that it stretches or tears) and tuck the opposite end under the far clamp. For side clamps, repeat this process for the left and right edges. Flip the levers or push the clips back into place to lock the paper securely. Give the paper a gentle tug to test—if it moves, re-tighten the clamps.
– Hook-and-loop sanders: Press the sandpaper firmly onto the pad, starting from the center and working outward. This pushes out air bubbles and ensures full contact between the paper’s loop side and the pad’s hooks. Press along the edges to seal them—loose edges will catch on the workpiece and tear. Test the hold by peeling gently at the edges; if it lifts, re-press the paper.
5. Final Checks Before Sanding
Before starting your project, do a quick inspection:
– Ensure the sandpaper is taut and wrinkle-free. Wrinkles cause uneven sanding and can damage the workpiece.
– Check that no edges are loose—loose paper can tear mid-sand or scratch the surface.
– Do a test stroke on a scrap piece of material (matching your workpiece) to confirm the paper stays in place and sands evenly. If the paper slips, stop and re-secure it.
News
Contact Us
Contact: JinKaiYan Abrasives
Phone: +86 13663827325
Tel: +86 13663827325
E-mail: cici8686@foxmail.com
Add: Weidu Industrial zone Xuchang City, Henan province China